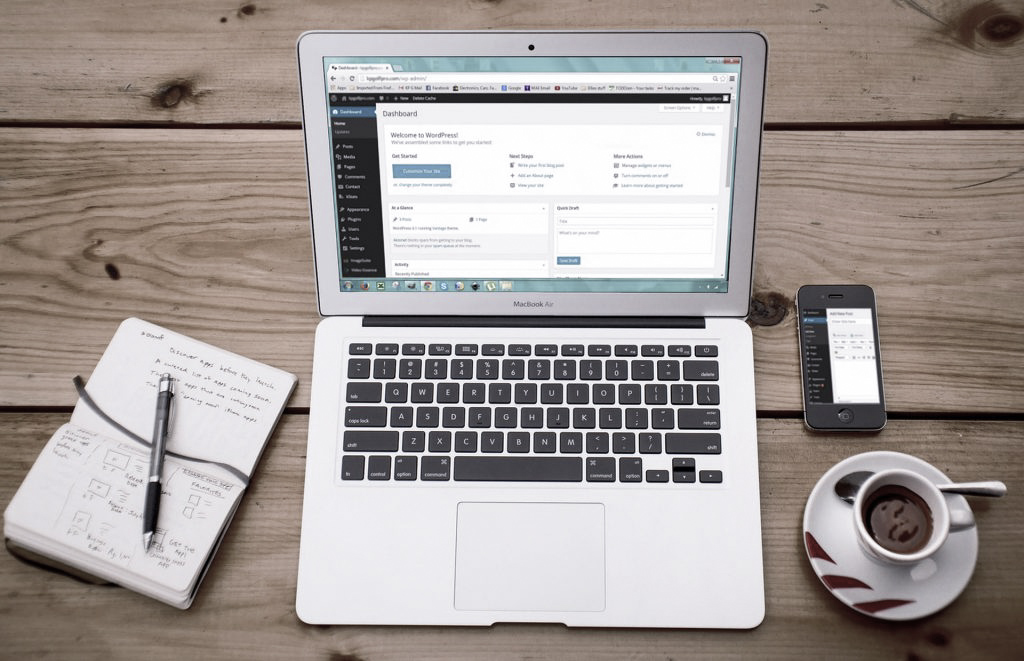
Yes! You read the title right. It literally took me a day to create a weblog on WordPress. It’s not as tedious as you think it’ll be. In fact, I really enjoyed editing and personalizing my site.
If you are interested in having your own website but unsure where to start, continue reading to know how I built my online presence in just one day. And start making yours as well! Guaranteed that this method will not need a single coding.
Registered A Domain and Bought a Web Hosting
First, you need to know that it’s okay to not buy a domain and Web hosting to create a weblog. You can have a website without paying anything at all. WordPress has a free website builder and subdomain; you may want to check that option out.
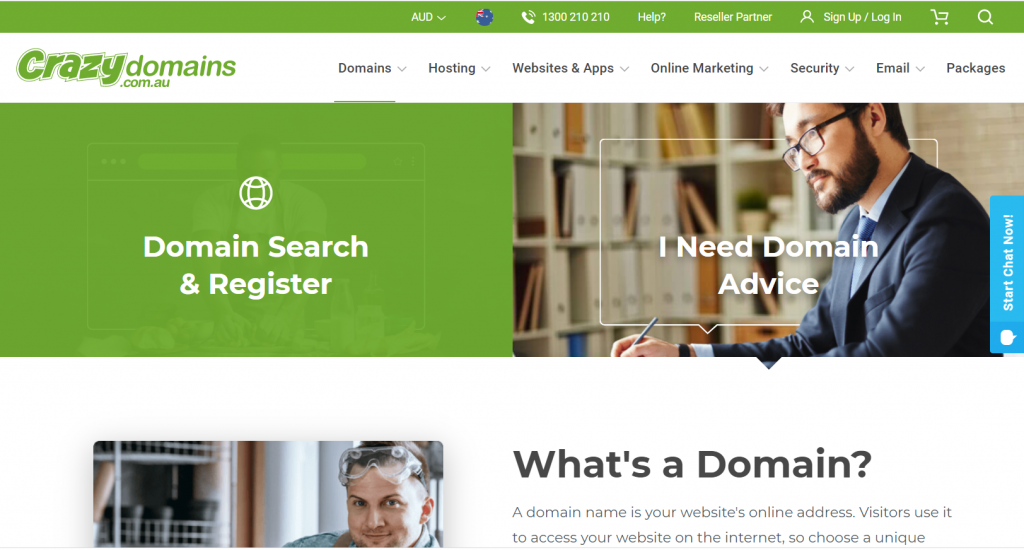
But, there is a takeaway. The free subdomain most site builder services offer can’t be customized. It means your website name won’t be unique or easy to remember. If you are looking for cheap domain and hosting services, check out Crazy Domains. Both my domain name and hosting are with them. After buying these online products, here’s what I did:
Wait for My DNS Records to Resolve
Now, when you buy a domain name and hosting, it doesn’t work instantly. So, you can’t create a website right then and there. You need to connect your domain first to your hosting server through DNS. You either need to edit the DNS or wait for them to resolve on the internet.
If you are not techy enough, it’s best to ask for help from your service provider. They know what to do next, and they are the best people to help you.
As for my case, I decided to update my name servers to Cloudflare’s after buying my domain and hosting because I want them to host my DNS records. I prefer using their DNS services since they have free SSL. And since I already mentioned SSL, I’ll try and explain its value very briefly.
SSL
In a nutshell, SSL is what makes the connection between your site and visitors safe. It helps secure any sensitive data that your customers or guests may send through your site and vice versa. SSL is important because, to be honest, we don’t like accessing websites that do not have that little padlock icon and HTTPS. It doesn’t look credible or reliable.

Although there are paid SSL certificates that have far more benefits than free ones, you can also buy those. But if you are like me, whose website doesn’t require an exchange of personal data, then the free version will do. Here’s an external link to guide you set up your site’s SSL using Cloudflare.
Again, if you are unsure how DNS works, please ask for help from the service provider of your choice. They can give you more direct instruction and guidance to ensure your site works after 2-4 hours.
Install WordPress

Once your DNS records work, let’s install WordPress into the hosting server. You might think, but WordPress is a different provider, should I pay again to use their services?
The answer is NO. Some hosting brands like Crazy Domains have WordPress included already. It means you can easily install and use WordPress through your hosting manager.
Now, installing WordPress varies from one provider to the other. But if you are planning to buy your hosting from Crazy Domains, I will link a guide to install WordPress from their online help page. You can check it out.
I know you are excited about the part where you design your website, but before that, if you use Cloudflare’s free SSL, there are a few extra steps we need to do. These steps will ensure your WordPress-powered site will have HTTPS and a padlock icon.
Install Really Simple SSL plugin
After installing WordPress, go to your admin page. You need to have a Really Simple SSL plugin and enable your SSL from there. If you are more of a visual learner, here’s a video from HostGator to guide you better.
Create a Website
Let’s get down to business. I know this is what you’ve been waiting for. What I like about WordPress is that making your website is easy. It doesn’t matter if you do not have an IT background; it’s not that hard to use WordPress. So, let’s start.
Choose a WordPress Theme
Here’s the exciting part, choosing a theme for your website. There are countless themes to choose from! Here’s how you can install and use a WordPress theme.
- On your WordPress Admin page, hover your mouse on the Appearance option from your sidebar.
- Then, click Themes from the popup menu.
- Click the Add New button.
- Browse through the themes and select which one you like best.
- If you found your winner, hover on it and click Install.
- It’ll take a few seconds, but once it’s done, click the Activate button.
If you wonder what theme I am using on my blog, it’s the Markup Blog theme.

Customize Theme
Every theme is basically templated. It means it has sample pictures, posts, pages, and content that are usually irrelevant for you. But before we touch the pages and posts, let us focus on the home page first. That’s the first thing a guest would see when they visit your site; it should be pleasing, clean, and user-friendly.
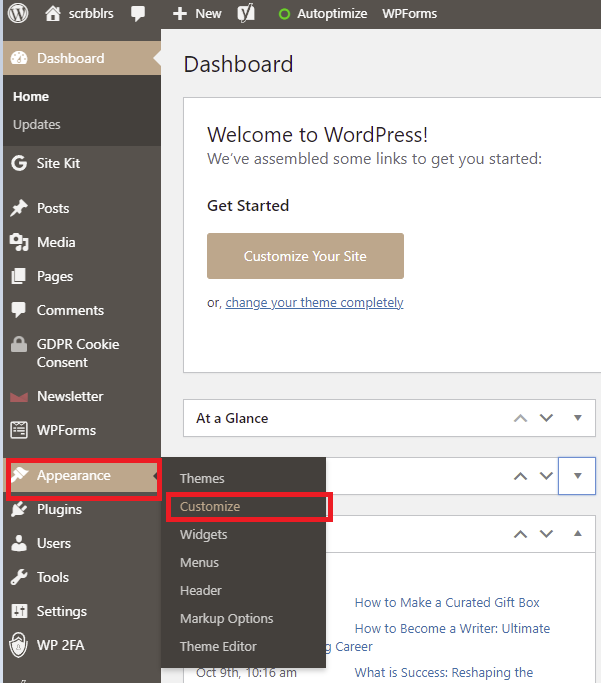
- On your WordPress Admin page, hover your mouse on the Appearance option from your sidebar.
- Then, click Customize from the popup menu.
- Explore the options on your sidebar; you can all do all stuff to personalize your theme from there.
Don’t be afraid to try things out; I promise you can’t ruin it. But make sure you do not publish your changes yet until everything’s ready. You don’t want your site guests to see the undone site.
Delete or Edit Pages and Posts
If you are satisfied with your homepage, it’s time to move on with your pages and posts. To make it easier for you, I linked videos from Hostgator to serve as your guide.
Manage Page
Manage Posts
Publish Everything
Before you publish all your drafted layout and content, I really suggest you make sure to have an About page, Contact page, and at least two posts. The reason for that is we want our guests to feel like our site is reliable.
And those content will help our audiences to know us better and understand what we can offer.
Final Say
That’s about it! You now have a perfectly working website. Congratulations! I hope it was easy and fun for you to create a weblog with WordPress.
